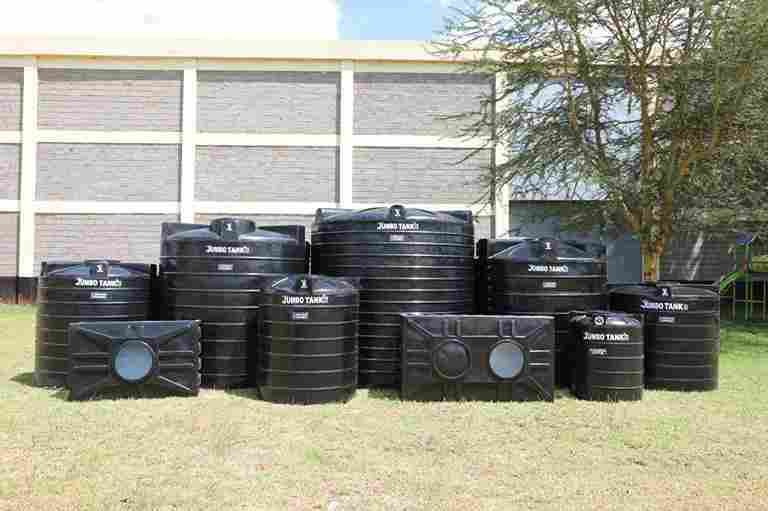
Step 1: Choose the Right Location
The first step in installing your water tank is selecting the right spot. Ideally, the tank should be installed on flat, stable ground to prevent shifting or damage. Ensure that the location is easily accessible for filling and maintenance, and if you’re using it for rainwater harvesting, position it near your gutters or downpipes. Avoid placing the tank under large trees or near other hazards that could damage it.

Step 2: Prepare the Base
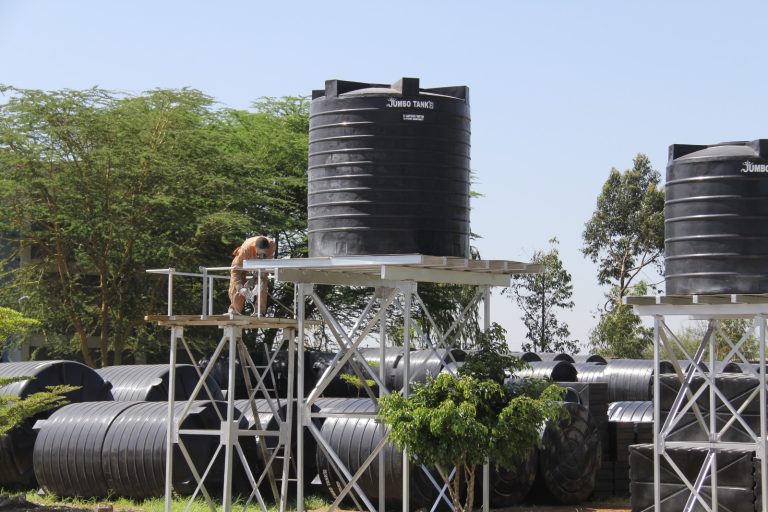
A solid base is essential for supporting the weight of a full tank. Plastic tanks, especially large ones, can become very heavy when filled with water. The base should be level and made from a strong material such as concrete, gravel, or compacted sand. Jumbo Tanks recommends a concrete pad for the most stable foundation. Make sure the base is larger than the tank’s footprint to distribute the weight evenly.
Step 3: Position the Tank
Once the base is ready, it’s time to position your tank. Jumbo Tanks’ plastic tanks are lightweight, making them easy to move into place with minimal equipment. However, for larger tanks, you may need assistance or a crane to safely position the tank on the base. Be careful not to drag the tank, as this can cause damage to the bottom.
Step 4: Connect Inlet and Outlet Pipes
After positioning the tank, connect the inlet and outlet pipes. For rainwater harvesting systems, connect the tank to the downpipes from your roof gutters to collect rainwater. You may also need to install a filtration system to prevent debris from entering the tank. The outlet pipe, typically located at the bottom, will allow you to draw water when needed. Ensure all connections are secure to avoid leaks.
Step 5: Install a First-Flush Diverter (Optional)
If you are collecting rainwater, installing a first-flush diverter is a good idea. This device prevents the first few liters of water, which may contain dirt or contaminants from the roof, from entering the tank. This step improves the quality of the stored water and ensures it is safe for use.
Step 6: Test the Tank
Before using the tank, conduct a thorough check to ensure there are no leaks or issues with the pipe connections. Fill the tank with a small amount of water and inspect the base, the pipe fittings, and the tank itself for any signs of leaks or instability.
Step 7: Secure the Tank
To prevent damage during windy weather, consider securing the tank, especially if it’s located in an exposed area. This can be done using sturdy straps or anchor points to hold the tank in place, particularly if it’s empty or not filled to capacity.
In conclusion, following these steps will help you safely install your Jumbo Tanks plastic tank and ensure its proper functioning for years to come. A well-installed tank is an asset, providing reliable water storage for both home and commercial use.

