
Maintenance
How to Prevent Algae and Contamination in Water Tanks
Algae in a water tank is a light problem before it is a cleaning problem. How to stop it at the source, what else gets into stored water, and a cleaning routine that works.
3 min readUpdated
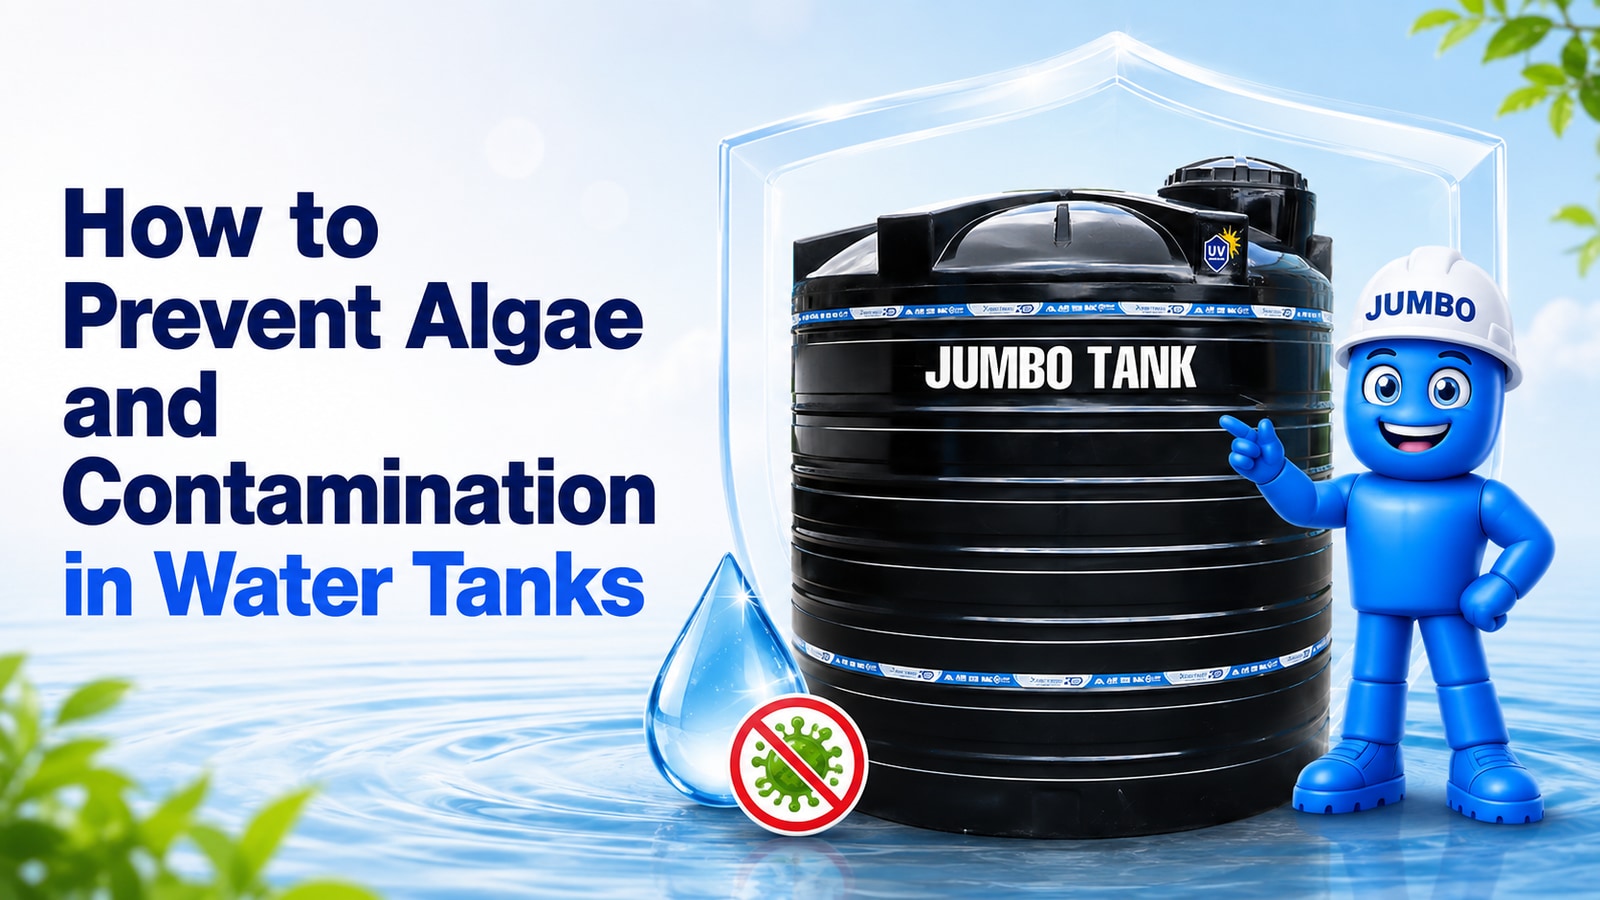
In short: algae needs light, warmth and nutrients. You cannot do much about the warmth, so take away the light. An opaque tank with a properly seated lid and an inlet screen will not grow algae, and no amount of scrubbing will keep a translucent one clear.
Why algae appears in the first place
Green water is photosynthesis. Spores are already in the air and in the water; what they need to become a bloom is light.
That is why the fix is structural rather than chemical:
- A wall that blocks light. A black, opaque wall stops the process before it starts. A white or translucent tank standing in the sun is a growing medium.
- A lid that seats. A gap at the lid is a light leak and an entry point.
- A screened inlet and overflow. Leaves, dust and insects carry the nutrients algae feeds on.
Jumbo plastic tanks are moulded with a black, UV-stabilised outer layer specifically because it blocks light. That is the same layer doing two jobs: surviving the sun and keeping the inside dark.
The other things that get into stored water
Algae is the visible problem. These are the ones you don't see.
Roof debris. If you harvest rainwater, everything on the roof goes into the tank — dust, leaves, bird droppings. A first-flush diverter sends the first few litres of a storm to waste and takes most of it with them.
Insects. Mosquitoes breed in standing water. A sealed lid and a fine mesh on the inlet and overflow ends the argument.
Sediment. Fine silt settles into a layer at the bottom over months. Harmless until it is disturbed, which is why you drain rather than stir when cleaning.
Stagnation. Water that sits for months goes flat and grows biofilm. A tank that turns over regularly stays fresher — another reason not to buy far more capacity than you use.
A cleaning routine that works
Every 6 to 12 months for a domestic tank. More often if it feeds a business, a school or a clinic, or if the water arrives visibly dirty.
- Drain it, keeping the last few inches to sluice with.
- Scrub the walls and floor with a soft brush and clean water. Nothing abrasive — scratching the inner surface gives biofilm somewhere to hold.
- Sluice out the sediment through the outlet or washout.
- Disinfect with a chlorine solution, leave it to stand, then rinse thoroughly.
- Refill and check the lid seats before you walk away.
A smooth inner surface makes this straightforward — there is nowhere for residue to sit and a brush passes over it cleanly.
On chlorine
Household bleach at a modest dilution is the usual disinfectant. Rinse thoroughly afterwards, and if the tank supplies drinking water for an institution, follow whatever your county public health office specifies rather than a rule of thumb from the internet.
What to check between cleans
- The lid — seated, undamaged, not propped
- The inlet screen — clear of leaves, mesh intact
- The overflow — screened, and pointing somewhere sensible
- The base — still level, still fully supporting the floor
- The water — smell and clarity tell you most of what you need
Signs it needs attention now
- A green tint, or green film on the walls
- An earthy or musty smell
- Visible sediment coming through a tap
- Mosquito larvae — anywhere, at all
The short version
Keep light out, keep debris out, clean it twice a year, and check the lid. A tank with an opaque wall and a proper lid is most of the way there before you ever pick up a brush.
Planning a new installation? Size it first, then talk to us on WhatsApp.